Chocolate Dream Cake Recipe: Step by Step Guide
Indulge in a delicious homemade Chocolate Dream Cake with this easy-to-follow step-by-step recipe guide. Chocolate Dream Cake Recipe: Step by Step Guide Indulge in a decadent homemade Chocolate Dream Cake that will satisfy your sweet tooth cravings.
Made with rich cocoa, creamy butter, and a moist cake base, this recipe is easy to follow and guarantees a heavenly dessert. Whether you’re a novice baker or an experienced one, this step-by-step guide will help you create a chocolatey masterpiece.
With simple instructions and common pantry ingredients, you’ll soon be enjoying a luscious cake that is sure to impress. So get your apron on and let’s dive into this delightful Chocolate Dream Cake recipe.
Ingredients
When it comes to making a decadent Chocolate Dream Cake, having the right ingredients is essential.
For The Cake
- Flour: 2 cups
- Sugar: 1 ½ cups
- Cocoa Powder: ¾ cup
- Baking Powder: 1 ½ tsp
- Baking Soda: 1 ½ tsp
- Salt: ½ tsp
- Eggs: 2
- Milk: 1 cup
- Vegetable Oil: ½ cup
- Vanilla Extract: 2 tsp
For The Frosting
- Unsalted Butter: 1 cup
- Confectioners’ Sugar: 2 cups
- Cocoa Powder: ½ cup
- Vanilla Extract: 1 tsp
- Heavy Cream: 1/3 cup
For The Topping
- Chocolate Shavings: For garnish
- Chocolate Chips: For decoration
- Whipped Cream: Optional
Credit: www.browneyedbaker.com
Preparing The Cake Batter
When preparing the cake batter for a delicious Chocolate Dream Cake, attention to detail is key to achieving the perfect texture and flavor. This step is crucial, as it sets the foundation for the entire cake creation process. Let’s dive into the step-by-step guide to prepare the cake batter, starting with mixing the dry ingredients.
Mixing Dry Ingredients
To begin, gather all the dry ingredients required for the Chocolate Dream Cake recipe. This usually includes all-purpose flour, cocoa powder, baking soda, and salt. In a large mixing bowl, carefully measure out each ingredient using a kitchen scale or measuring cups. Ensure an even distribution of the cocoa powder and baking soda within the flour to avoid lumps in the batter.
Creaming Butter And Sugar
The next crucial step in preparing the cake batter is creaming together the butter and sugar. This process creates a light and airy texture for the cake. Make sure the butter is at room temperature to facilitate easy mixing. Using an electric mixer, beat the butter and sugar together until pale and fluffy. This may take a few minutes, but the result is well worth the effort.
Adding Wet Ingredients
Once the butter and sugar are adequately creamed, it’s time to incorporate the wet ingredients into the mixture to bring it all together. Gradually add the eggs, vanilla extract, and buttermilk. Slowly pour in the wet ingredients while continuing to mix the batter at a low speed. This ensures that the wet and dry ingredients are smoothly combined, resulting in a lusciously smooth cake batter.
Baking The Cake
When it comes to baking the perfect Chocolate Dream Cake, taking the time to prepare the cake pan, pour the batter, and ensure the ideal baking time and temperature is crucial for a delectable result.
Preparing The Cake Pan
Start by greasing the cake pan with butter or non-stick spray to prevent the cake from sticking. Then, line the bottom of the pan with parchment paper to ensure easy removal after baking. Dusting the pan with cocoa powder rather than flour can add an extra touch of chocolate flavor to the cake and prevent any white residue on the finished cake.
Pouring The Batter
Once the cake pan is prepared, carefully pour the batter into the pan, ensuring an even distribution. Use a spatula to spread the batter evenly, filling the pan only a little over halfway to allow the cake to rise properly during baking.
Baking Time And Temperature
Preheat the oven to 350°F (175°C). Place the filled cake pan in the center of the oven and bake for approximately 30-35 minutes. To ensure the cake is fully baked, insert a toothpick into the center – if it comes out clean, the cake is ready. Once baked, allow the cake to cool in the pan for 10 minutes before transferring it to a wire rack to cool completely.
Making The Frosting
Making the frosting for your Chocolate Dream Cake is a crucial step that will elevate the taste and appearance of your dessert.
Melting Chocolate
Begin by melting high-quality chocolate in a heatproof bowl over a simmering pot of water.
Whipping Cream And Sugar
In a separate bowl, whip cold heavy cream with sugar until soft peaks form.
Incorporating Melted Chocolate
Gently fold the melted chocolate into the whipped cream mixture until fully incorporated.
Assembling The Cake
Now that you have prepared the cake layers and whipped up the delectable frosting, it’s time to bring them together and assemble your chocolate dream cake. The assembly process consists of three important steps – cooling the cake, trimming and leveling, and applying the frosting layers. Let’s dive into each step, ensuring that each one is executed flawlessly to create a show-stopping dessert.
Cooling The Cake
After baking the cake layers to perfection, it is crucial to allow them to cool completely before moving forward with the assembly process. Place each cake layer on a wire rack, ensuring that there is enough space for air to circulate around them. Let them cool at room temperature for about 30 minutes.
Trimming And Leveling
In order to achieve a professional and polished look for your chocolate dream cake, it’s important to trim and level the cake layers. Start by placing one cooled cake layer on a sturdy surface. Using a serrated knife, gently remove the slight dome that may have formed during baking. Trim the edges to create a flat surface. Repeat this process with the remaining cake layers.
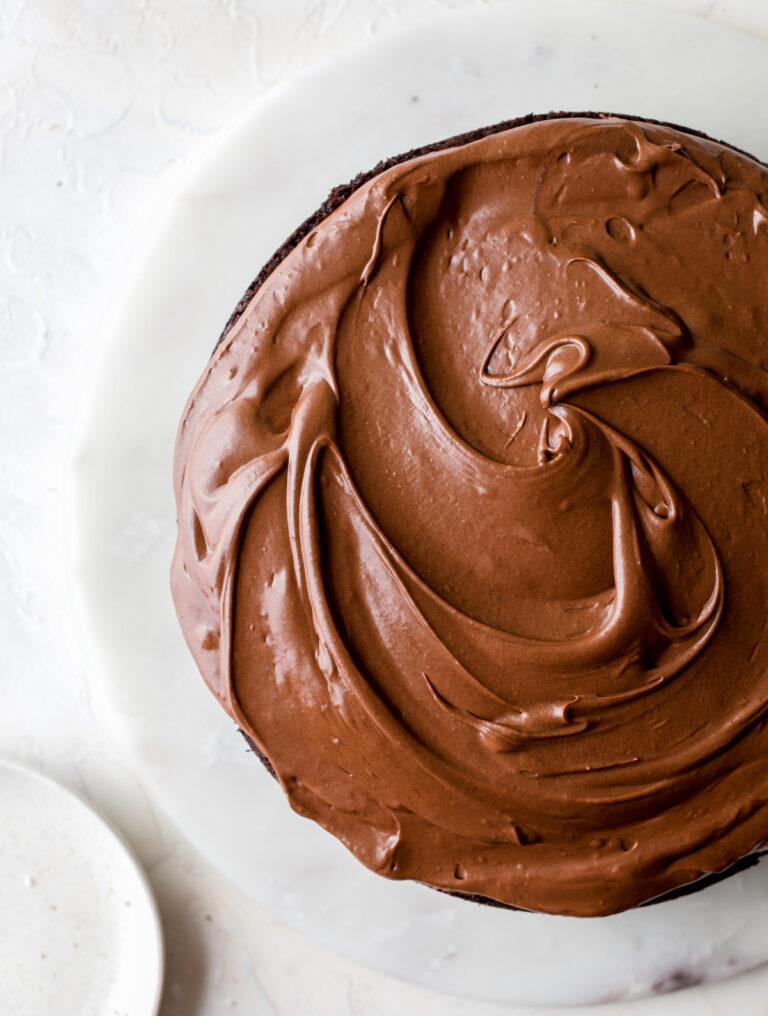
Applying Frosting Layers
To create a luscious and perfectly balanced chocolate dream cake, it’s vital to apply the frosting layers with precision. Start by placing the first trimmed cake layer on a cake board or plate. Spread a generous amount of frosting evenly over the top surface. Place the second trimmed layer on top and repeat the frosting process. Repeat these steps for the remaining layers until your entire cake is assembled.
Remember, each layer should be evenly frosted to ensure a beautiful and professional presentation. You can use an offset spatula to help achieve smooth and even layers. Finally, apply a thin layer of frosting around the sides of the cake to seal in any crumbs. This is called a crumb coat. It acts as a base layer and prepares the cake for the final coat of frosting, giving it a flawless finish.
Now that you have successfully assembled your chocolate dream cake, you’re one step closer to indulging in its irresistible flavors. The next and final step is to decorate the cake according to your preferences and let it set in the refrigerator to allow the flavors and textures to meld together into a heavenly dessert.

Credit: www.mamasguiderecipes.com
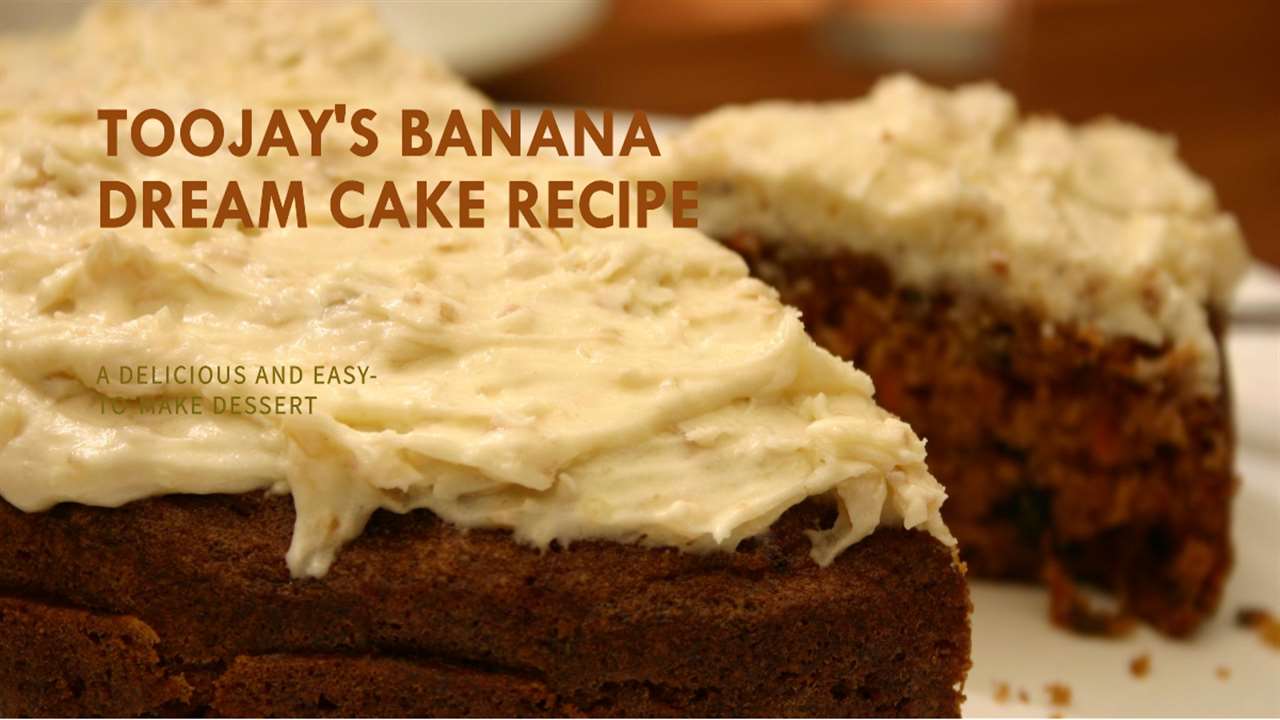
Adding The Topping
The final step in making your chocolate dream cake is adding the topping. This step is essential for adding an extra layer of indulgence to your cake and giving it that wow factor. Here’s how you can decorate your cake to perfection and add those final touches.
Decorating The Cake
Decorating your cake is the most fun part of the whole process. You can get creative with different toppings and decorations to make your cake stand out. You can use a variety of ingredients such as chopped nuts, chocolate shavings, fresh berries, or edible flowers to make your cake visually appealing. Sprinkle the toppings evenly across the top of the cake for a beautiful presentation.
Final Touches
Once you’ve added the toppings, ensure that you add any final touches to bring the cake together. You can add a dusting of cocoa powder or powdered sugar for a finishing touch. Another option is to pipe some whipped cream around the edges of the cake for an elegant look. These subtle touches will elevate your chocolate dream cake to the next level of indulgence.

Credit: www.youtube.com
Conclusion
Savor the indulgent delight of Chocolate Dream Cake with this easy-to-follow recipe. Create a decadent treat that will leave your taste buds craving more. Elevate your baking skills and impress your loved ones with a rich and luxurious dessert. Dive into a world of sweetness and pure chocolate bliss.