Cinnamon Pear Preserves Recipe: Step by Step Guide
Create delicious Cinnamon Pear Preserves by following this step-by-step guide. Perfect for breakfast or gifting!
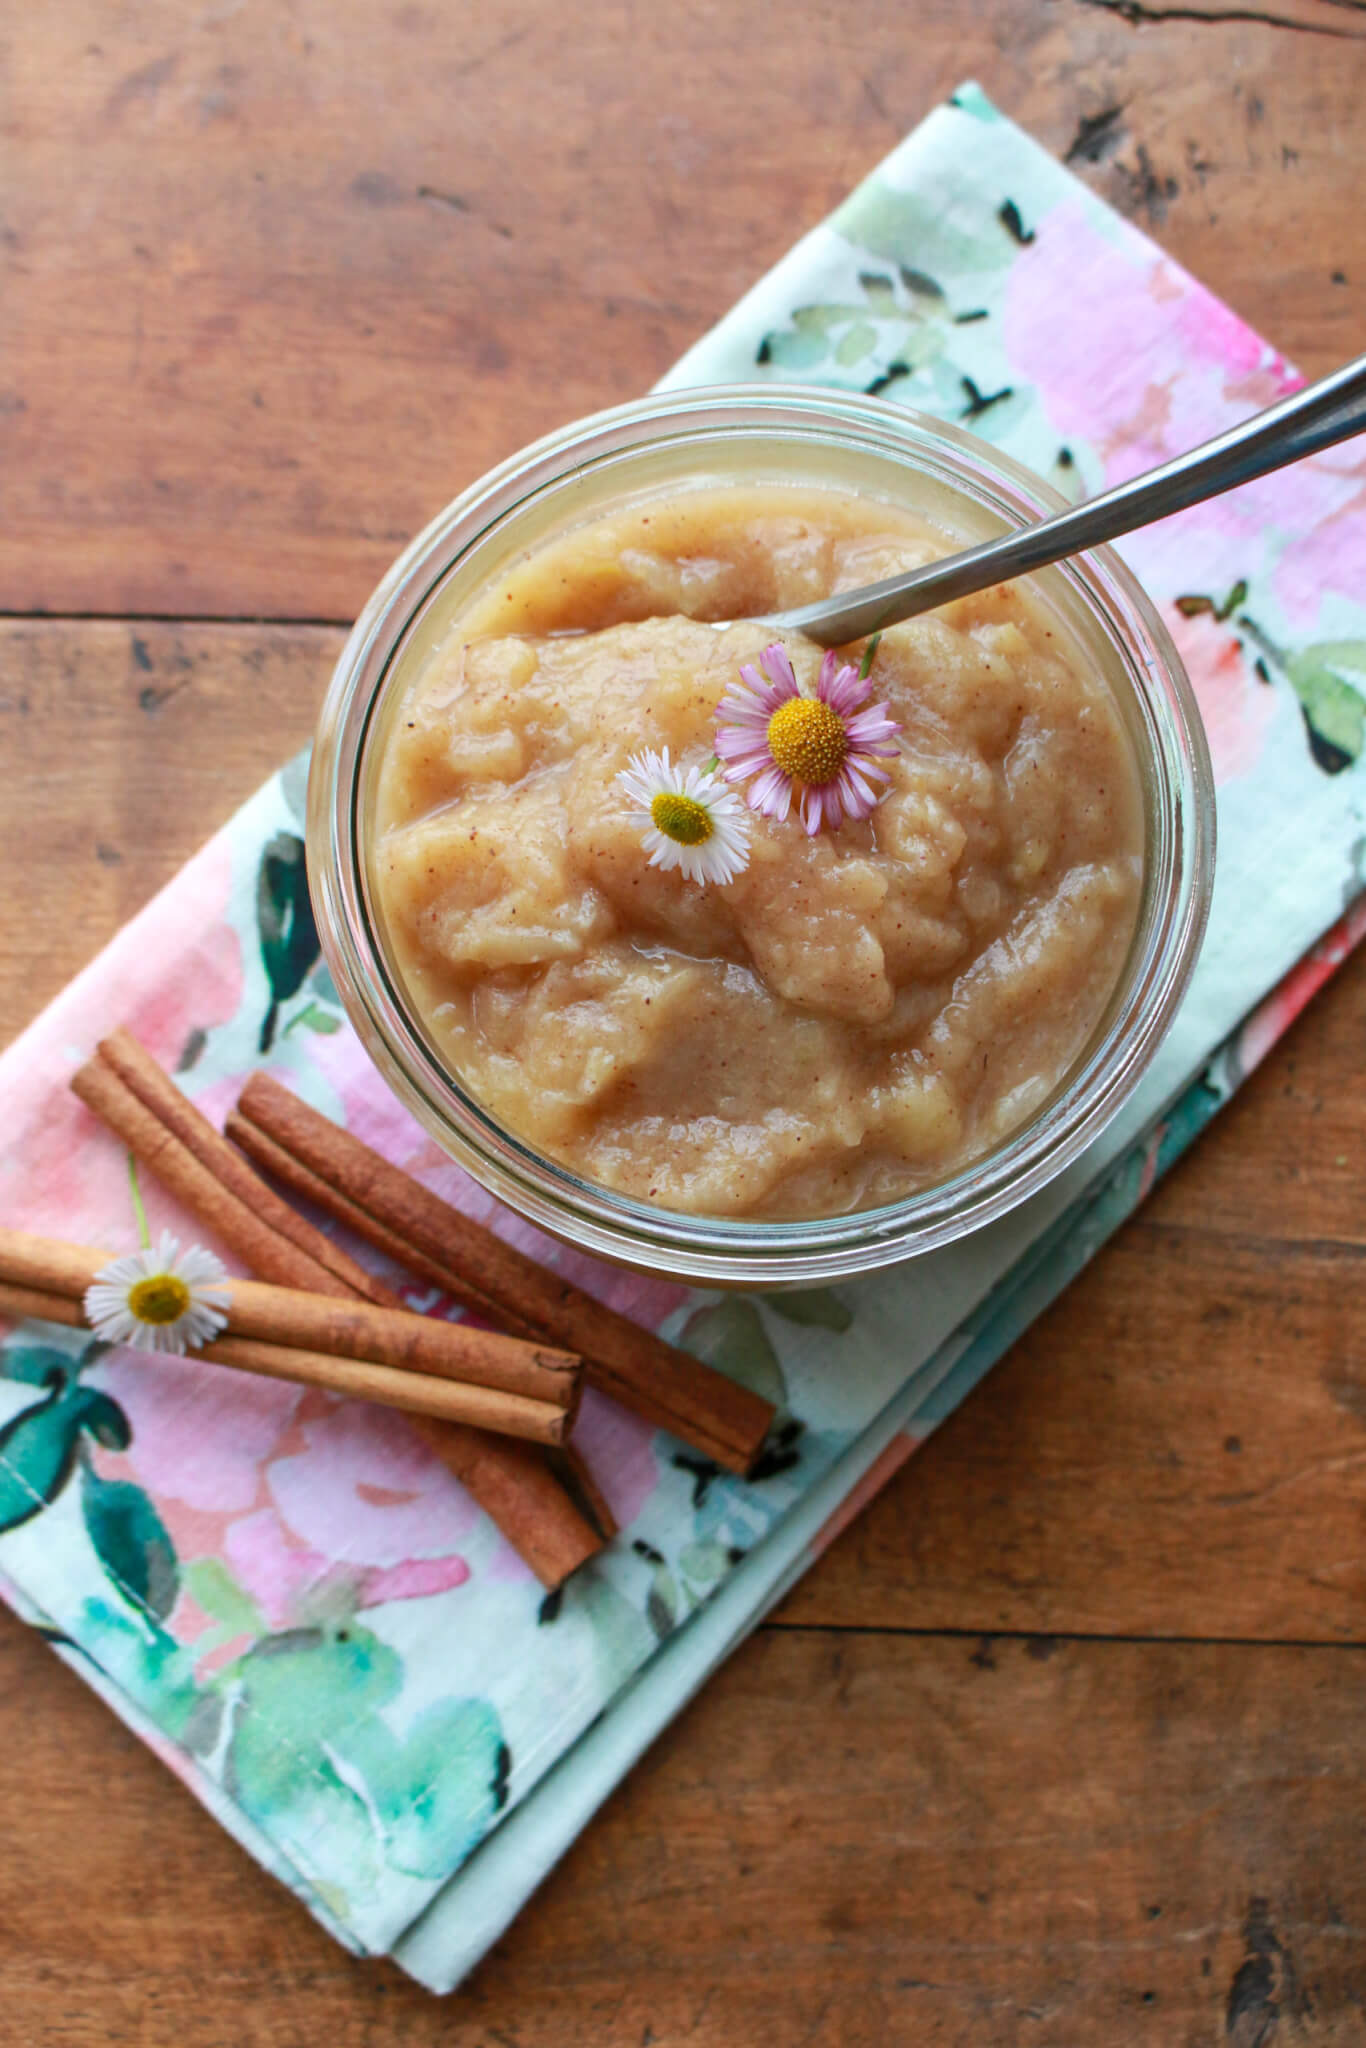
Imagine waking up to the sweet aroma of cinnamon and pears simmering on your stove, ready to be spread on warm toast. This delightful preserve is not only a treat for your taste buds but also a lovely homemade gift for friends and family.
With just a few simple ingredients and easy-to-follow instructions, you can whip up a batch of this flavorful spread in no time. Let’s dive into the process of making these irresistible Cinnamon Pear Preserves and bring a touch of warmth and sweetness to your kitchen.
The History Of Cinnamon Pear Preserves
Experience the rich history of cinnamon pear preserves, a delightful creation that has been cherished for generations. This step-by-step guide offers an easy and flavorful recipe, allowing you to savor the sweet and spicy blend of cinnamon and pears in every bite.
The History of Cinnamon Pear Preserves Origins of Cinnamon Pear Preserves In the realm of culinary delights, Cinnamon Pear Preserves hold a special place. The origins of this delectable treat can be traced back to ancient civilizations. Cultural Significance Across various cultures, Cinnamon Pear Preserves symbolize warmth and comfort. The sweet aroma and rich flavor have become a cherished tradition in many households.Origins Of Cinnamon Pear Preserves
- Trace back to ancient civilizations
Cultural Significance
- Symbolize warmth and comfort
- Cherished tradition in many households
Credit: www.stemilt.com
Ingredients And Equipment
When making cinnamon pear preserves, it’s crucial to have the right ingredients and equipment on hand. Let’s take a closer look at what you’ll need to create this delicious recipe.
Essential Ingredients
Before you begin, gather the following essential ingredients:
- Fresh ripe pears
- Sugar
- Lemon juice
- Cinnamon sticks
- Water
Recommended Equipment
For a smooth preparation process, it’s recommended to have the following equipment:
- Large saucepan
- Canning jars and lids
- Canning funnel
- Ladle
- Measuring cups and spoons
- Cheesecloth or muslin bag
Preparing The Pears
Cinnamon pear preserves are a delightful addition to any pantry, offering a burst of sweet and spicy flavor. The key to creating the perfect preserves lies in the preparation of the pears. Let’s explore the step-by-step guide to preparing the pears for this delicious recipe.
Selecting Ripe Pears
When selecting pears for your preserves, opt for ripe pears that are firm but yield slightly to pressure at the stem end. Look for pears that are free from bruises or blemishes and emit a sweet aroma. Common pear varieties suitable for preserves include Bartlett, Anjou, and Bosc.
Peeling And Chopping
To begin, thoroughly wash the pears to remove any dirt or residue. Next, use a vegetable peeler to carefully peel the skin from each pear. Once peeled, cut the pears in half, remove the core and seeds, and then proceed to chop the pears into small, uniform pieces. This will ensure even cooking and a desirable texture in the finished preserves.
Credit: archive.org
Cooking Process
Cooking Process:
Simmering The Pears
Peel and dice the pears. Place in a saucepan with water and sugar.
Adding Cinnamon And Other Ingredients
- Add cinnamon and a hint of nutmeg for flavor.
- Stir in lemon juice to enhance the taste.
- Cook until the mixture thickens and the pears are tender.
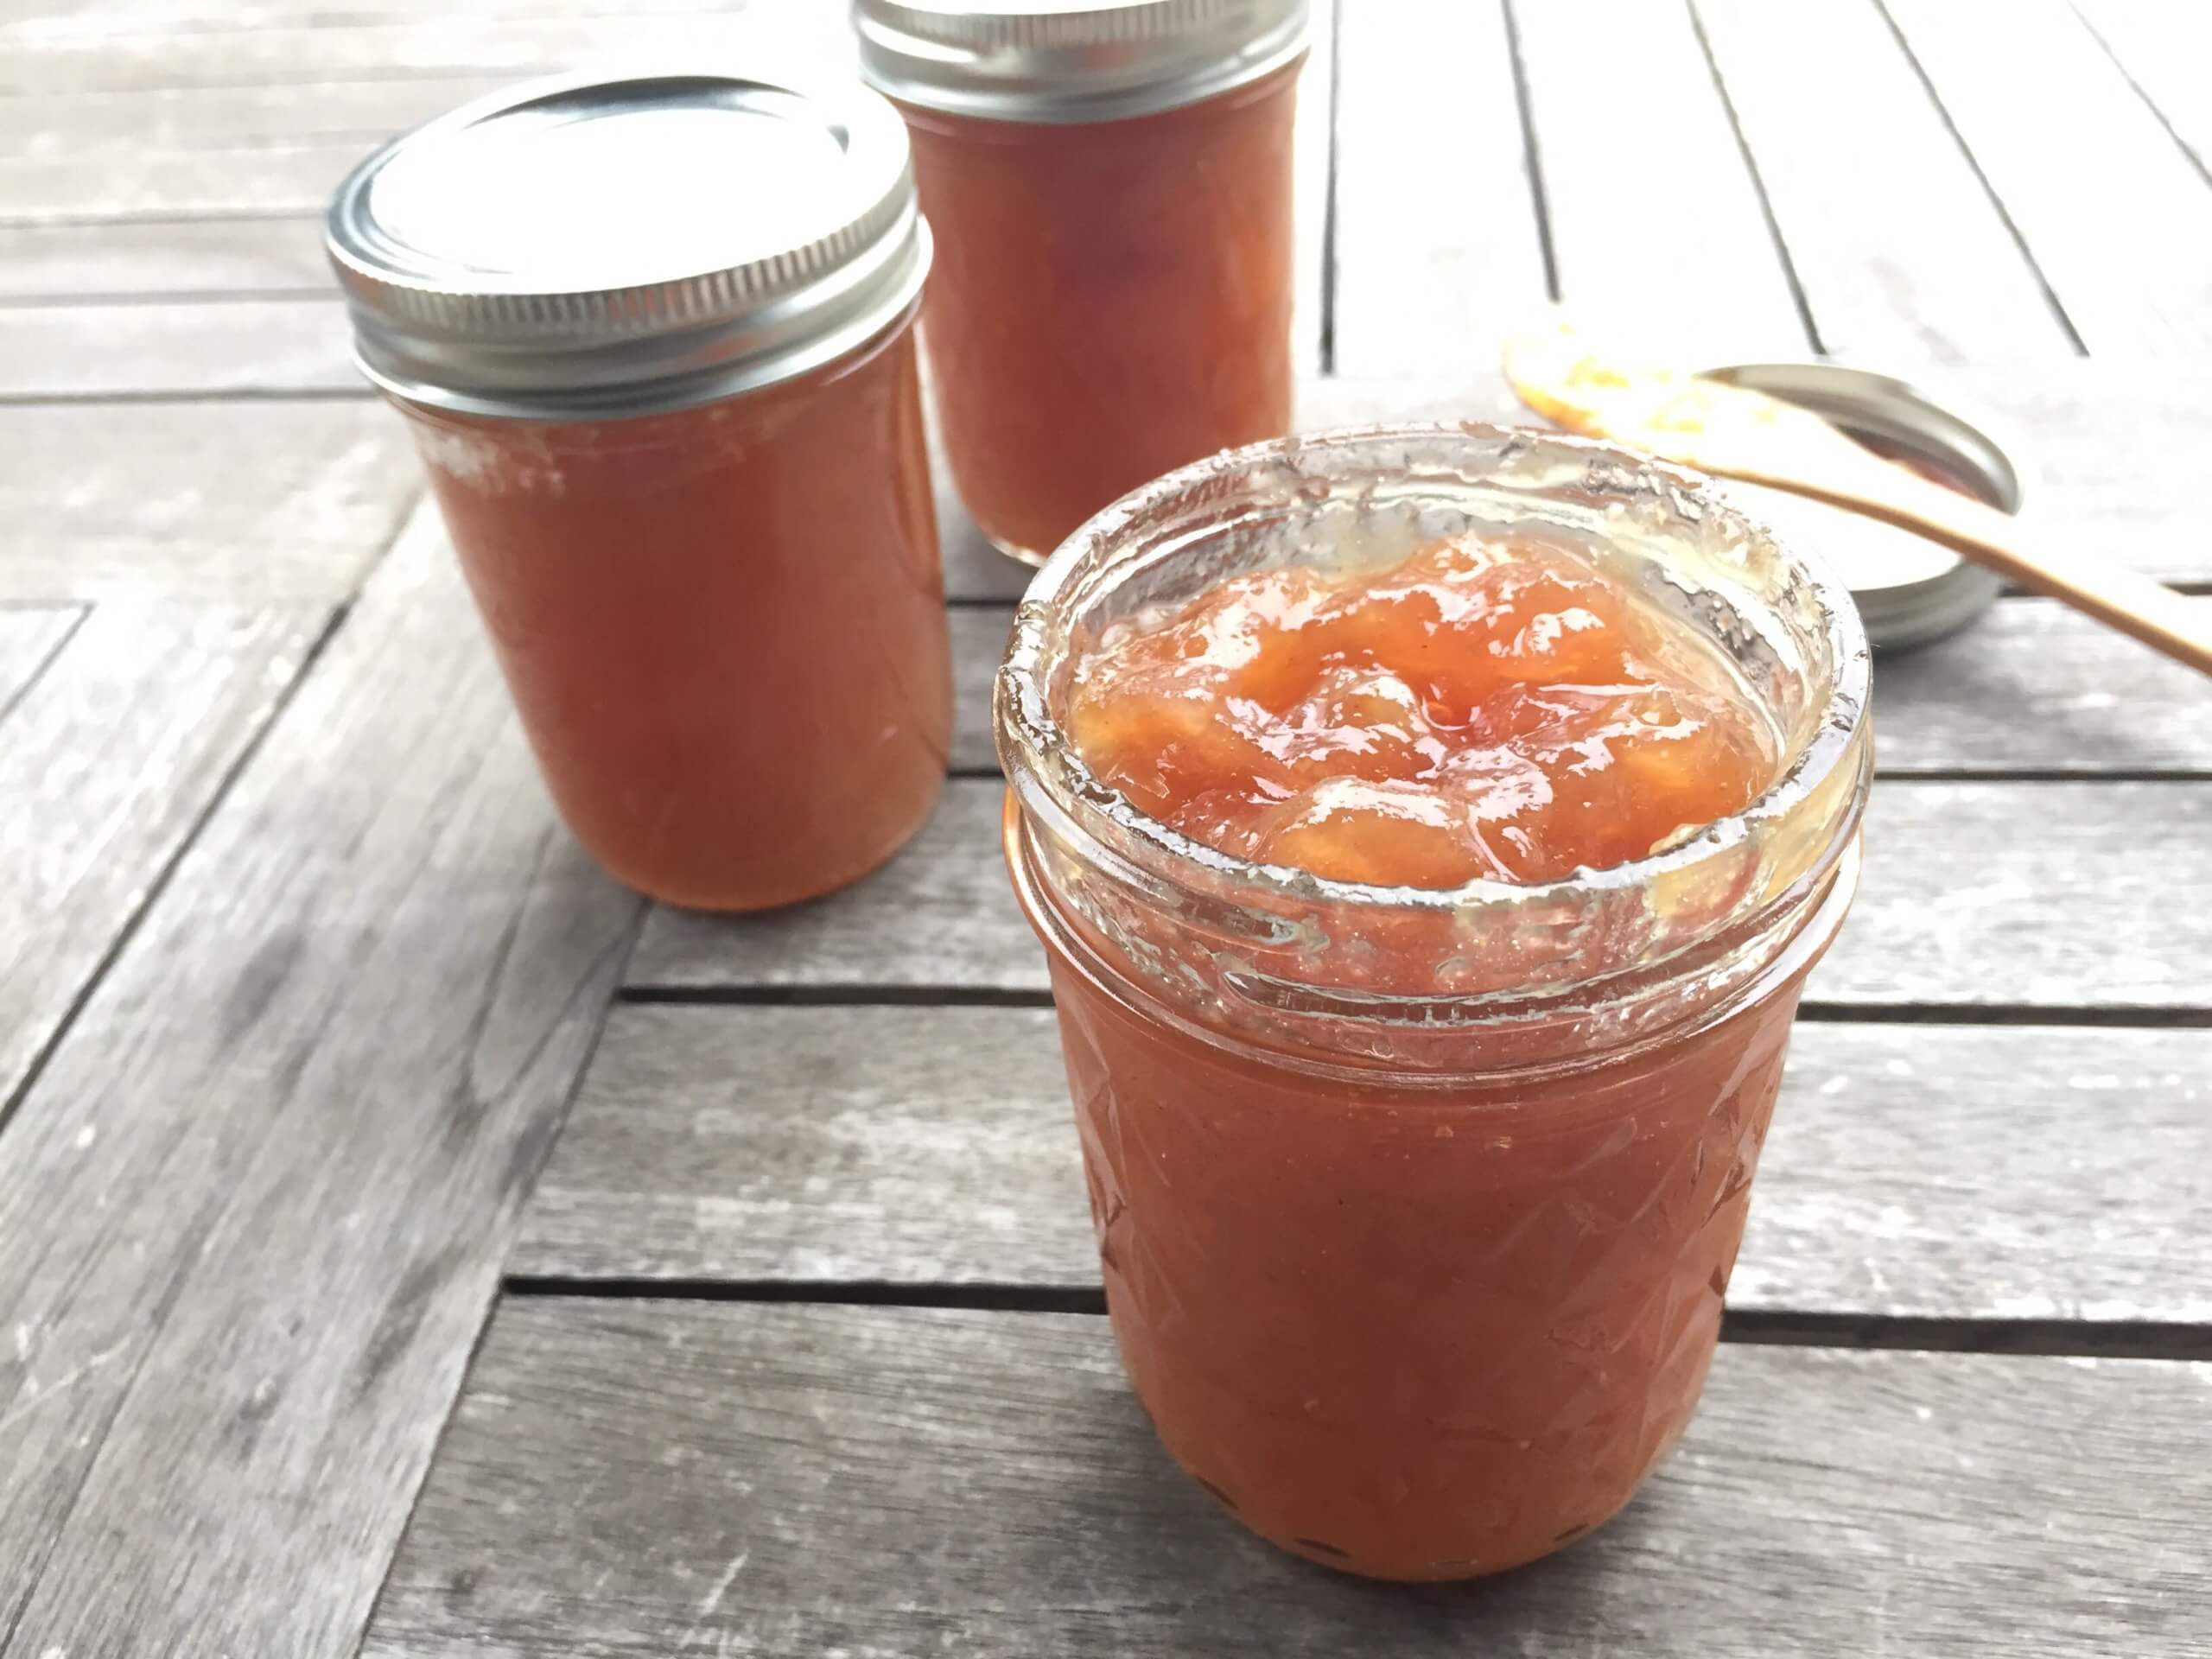
Jarring And Preserving
Preserving your homemade cinnamon pear preserves is crucial to ensure their freshness and longevity. Jarring and Preserving is a simple yet essential process that involves sterilizing the jars and using proper sealing techniques.
Sterilizing The Jars
To prepare your jars for preserving, start by washing them in hot, soapy water. Rinse thoroughly and then place the jars in a large pot filled with water. Bring the water to a boil and let the jars boil for at least 10 minutes. Remove the jars carefully using tongs and let them air dry on a clean towel.
Proper Sealing Techniques
When filling the jars with the cinnamon pear preserves, ensure there is a ¼ inch of headspace at the top of the jar. Wipe the rims of the jars with a clean cloth to remove any residue. Place the lids on the jars and screw on the bands until they are fingertip tight.
Variations And Serving Suggestions
Adding Other Fruits Or Spices
Cinnamon pear preserves offer a wonderful base for creativity. You can experiment with adding other fruits or spices to create unique variations. Consider incorporating apples, cranberries, or even a hint of ginger for a delightful twist. Spices like nutmeg or cloves can also add depth to the flavor profile.
Pairing With Different Foods
When it comes to serving suggestions, the possibilities are endless. These preserves are a perfect accompaniment to a variety of foods. Consider spreading them on warm toast or freshly baked scones for a delightful breakfast treat. They can also be paired with a sharp cheese on a charcuterie board for a savory-sweet contrast. Additionally, they make a delightful topping for vanilla ice cream or Greek yogurt.
Storing And Shelf Life
When it comes to making and preserving homemade cinnamon pear preserves, knowing how to store them properly and their expected shelf life is crucial. By following the right storage conditions, you can ensure that your preserves stay fresh and flavorful for an extended period. Here’s a comprehensive guide on storing and the shelf life of your delectable cinnamon pear preserves.
Proper Storage Conditions
Proper storage conditions play a vital role in maintaining the quality and taste of your cinnamon pear preserves. To ensure longevity and freshness, it’s essential to store the preserves in a cool, dark place away from direct sunlight and heat sources. A pantry or kitchen cabinet is an ideal location for storing your preserves. Additionally, make sure the jars are tightly sealed to prevent air exposure, which can lead to spoilage.
Expected Shelf Life
When properly stored, homemade cinnamon pear preserves can have an impressive shelf life. The expected shelf life of these preserves is approximately 1 to 1.5 years. It’s important to regularly check the jars for any signs of spoilage, such as mold growth or off-putting odors. Properly stored preserves can maintain their quality and flavor for an extended period, allowing you to enjoy them throughout the year.
Enjoying Your Cinnamon Pear Preserves
Now that your homemade cinnamon pear preserves are ready, it’s time to savor the delicious flavors. Here are some creative ways to enjoy this delightful spread.
Creative Uses
- Spread cinnamon pear preserves on toast or bagels for a sweet breakfast treat.
- Top vanilla ice cream with a spoonful of preserves for a decadent dessert.
- Mix into yogurt or oatmeal for a flavorful twist.
Gift Ideas
- Jar of cinnamon pear preserves makes a thoughtful homemade gift.
- Pair with artisanal cheeses for a gourmet gift basket.
- Decorate jars with ribbons and labels for a personalized touch.

Credit: www.stemilt.com
Conclusion
This cinnamon pear preserves recipe is a delicious and easy way to preserve the taste of the season. With just a few simple steps, you can create a flavorful spread that can be enjoyed on toast, in yogurt, or as a glaze on meats.
Plus, using fresh, organic ingredients ensures that you are getting the best flavor and nutritional benefits. Give this recipe a try and savor the taste of fall all year round!