Coconut Kisses Recipe: Step by Step Guide
Looking for a delicious and easy Coconut Kisses recipe? Look no further!
This step-by-step guide will help you create these sweet treats in no time. With simple ingredients and clear instructions, you’ll be enjoying homemade Coconut Kisses in no time. So, let’s get started and satisfy your sweet cravings with this delightful recipe.
Coconut Kisses are a popular dessert that combines the rich flavor of coconut with a sweet and chewy texture. Whether you’re a seasoned baker or just starting out, this recipe is perfect for anyone looking to create a delectable treat. Made with shredded coconut, condensed milk, and a hint of vanilla, these little bites of heaven are sure to become a household favorite. So, gather your ingredients and let’s dive into the simple steps to make these irresistible Coconut Kisses.
:max_bytes(150000):strip_icc()/Southern_Living_Coconut_Macaroons_SEO49_step9_109-24240b95ce7f464f9c9f4b14d5a835a7.jpg)
Credit: www.southernliving.com
Ingredients
Before we dive into the delightful process of making coconut kisses, let’s take a look at the essential ingredients required for this delectable treat.
Main Ingredients
Here are the main ingredients you’ll need to prepare the Coconut Kisses:
- Coconut Flakes – 2 cups
- Condensed Milk – 1 can
- Vanilla Extract – 1 teaspoon
- Butter – 2 tablespoons
Optional Ingredients
If you want to add a personal touch or enhance the flavor, you can consider these optional ingredients:
- Chocolate Chips – 1/2 cup
- Nuts (e.g., almonds, cashews) – 1/4 cup, chopped
- Orange Zest – 1 teaspoon
Preparation
Preparing the coconut kisses recipe requires a few simple steps that anyone can follow. The preparation process involves gathering the necessary ingredients and preparing the coconut mixture. Let’s dive into each step in detail.
Gathering Ingredients
Before starting with the preparation, ensure that you have all the required ingredients at hand. Here’s a quick rundown of what you’ll need:
- Shredded coconut: 2 cups
- Condensed milk: 1 can
- Vanilla extract: 1 teaspoon
- Butter: 2 tablespoons
Preparing The Coconut Mixture
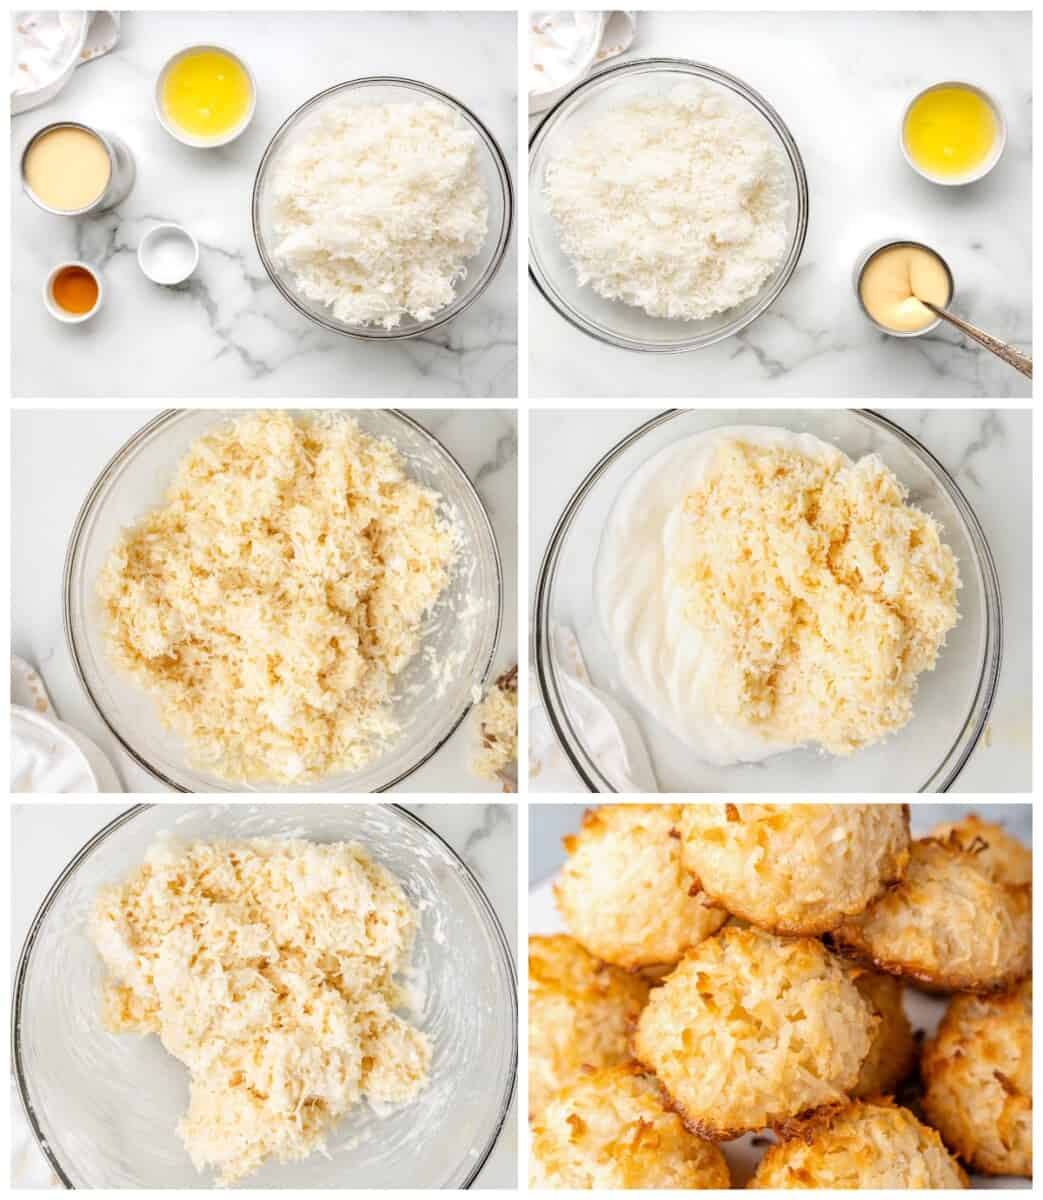
Once you have gathered all the ingredients, it’s time to prepare the coconut mixture. Follow these steps:
- Combine Ingredients: In a mixing bowl, combine the shredded coconut, condensed milk, vanilla extract, and butter. Mix them thoroughly until well combined.
- Form the Kisses: Take small portions of the coconut mixture and shape them into small, kiss-shaped balls using your hands.
- Chill the Kisses: Place the formed coconut kisses on a baking sheet lined with parchment paper and refrigerate them for at least 30 minutes to allow them to firm up.
Shaping The Kisses
After preparing the mixture for the coconut kisses, the next step is shaping them. This is a crucial step as it determines the final appearance of the coconut kisses. The shaping process involves rolling the mixture into small balls and then forming them into kiss shapes. Below is a step-by-step guide on how to shape the coconut kisses.
Rolling The Mixture
To start, take a small amount of the mixture and roll it into a small ball using the palm of your hands. Ensure that the ball is smooth and free of cracks or bumps. Repeat this process until all the mixture has been rolled into small balls.
Forming The Kiss Shapes
Once you have rolled all the mixture into small balls, the next step is to form them into kiss shapes. To do this, take one ball at a time and flatten it slightly using your fingers. Then, using your fingers, pinch one end of the flattened ball to create a pointy tip. Finally, gently press the sides of the ball to create a curved shape, resembling a kiss.
Ensure that each kiss is of the same size and shape for consistency. Place the shaped kisses onto a baking sheet lined with parchment paper, making sure to leave enough space between each kiss to prevent them from sticking together.
Shaping the coconut kisses requires patience and attention to detail. But with this step-by-step guide, you can easily create perfect, mouth-watering coconut kisses every time!
Baking
When it comes to baking coconut kisses, following the right steps is crucial to achieve the perfect texture and flavor. In this section, we will cover the essential steps for baking these delightful treats, from preheating the oven to the final baking process.
Preheating The Oven
To ensure the coconut kisses bake evenly and develop a golden hue, it’s essential to preheat the oven to the correct temperature. Follow these simple steps to preheat the oven:
- Open the oven door and set the temperature knob to the desired baking temperature, typically 350°F (175°C).
- Allow the oven to preheat for approximately 10-15 minutes until the temperature indicator shows that it has reached the desired setting.
Baking The Coconut Kisses
Once the oven is preheated, it’s time to start baking the coconut kisses. Follow these steps for the perfect baking process:
- Prepare a baking sheet by lining it with parchment paper or lightly greasing it to prevent the coconut kisses from sticking.
- Scoop the coconut kiss mixture onto the baking sheet using a small spoon or cookie scoop, leaving enough space between each portion for them to expand while baking.
- Place the baking sheet in the preheated oven and set a timer for 10-12 minutes, or until the coconut kisses turn golden brown around the edges.
- Once baked, carefully remove the baking sheet from the oven and allow the coconut kisses to cool for a few minutes before transferring them to a wire rack to cool completely.
Cooling And Serving
When it comes to cooling and serving your delectable Coconut Kisses, attention to detail is key.
Allowing To Cool
After baking, let the Coconut Kisses cool on a wire rack for about 10 minutes.
- Avoid handling them immediately to prevent crumbling.
- Ensure they reach room temperature for the best texture and flavor.
Presentation And Enjoyment
When ready to serve, consider these tips for a delightful experience:
- Arrange the Coconut Kisses on a decorative platter.
- Dust them with powdered sugar for an elegant touch.
- Garnish with fresh mint leaves or toasted coconut flakes for visual appeal.
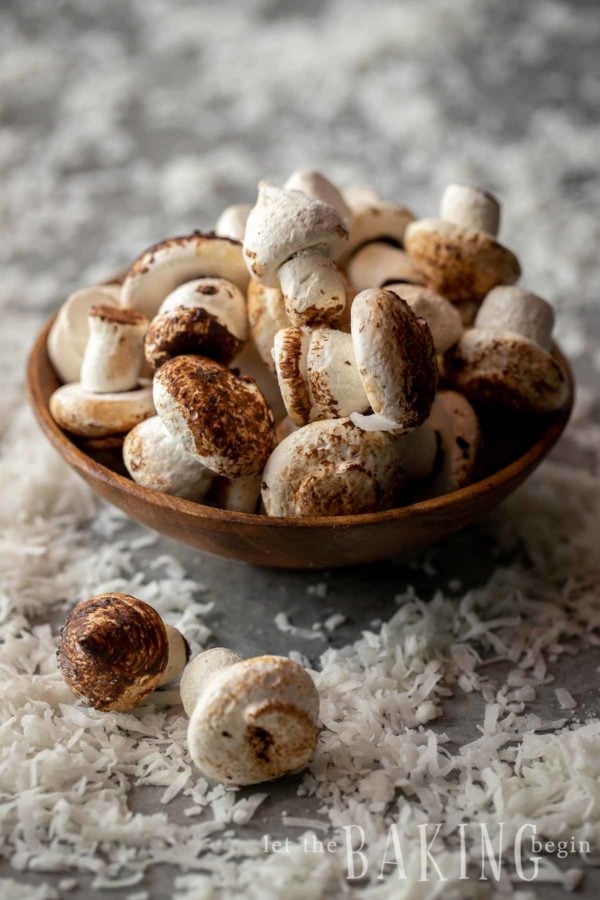
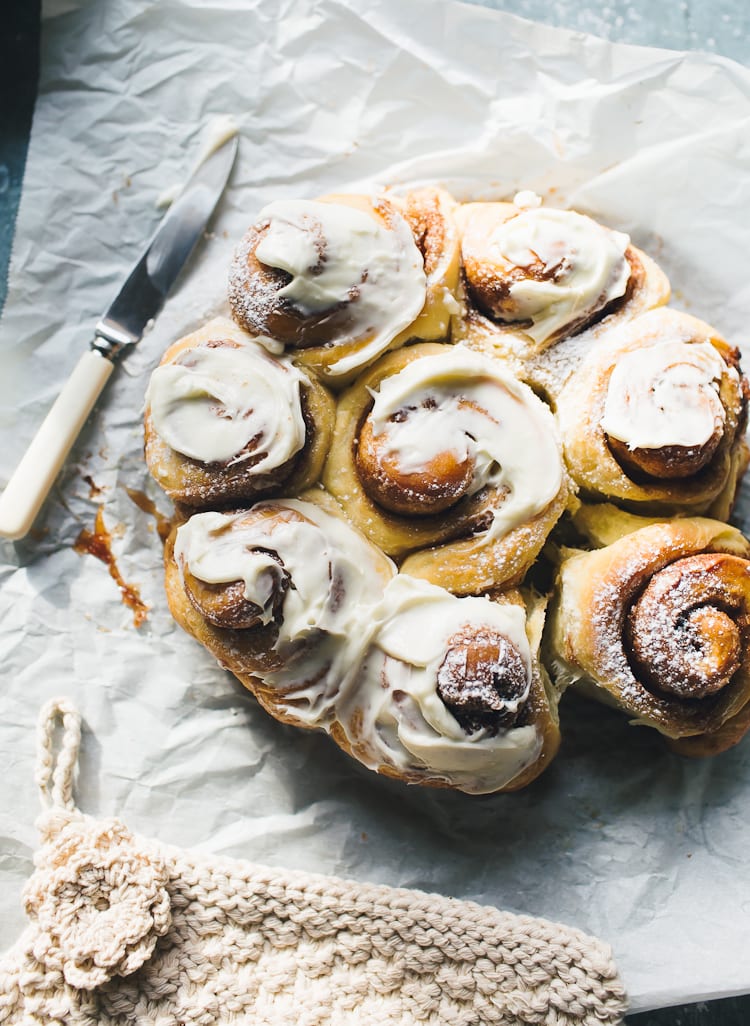
Credit: letthebakingbegin.com
Variations And Tips
Learn how to make delicious coconut kisses with this step-by-step guide. This recipe is easy to follow and can be customized with variations such as adding chocolate chips or nuts for extra flavor. Impress your friends and family with this tasty treat!
Adding Flavors
Storage Tips
When it comes to making Coconut Kisses, there are various ways to add your own twist to this classic recipe. Here are some Variations and Tips to help you elevate your Coconut Kisses game:
- Adding Flavors: Experiment with different extracts such as vanilla or almond for a unique taste.
- Coconut Flakes: Sprinkle coconut flakes on top for extra crunch and flavor.
- Chocolate Drizzle: Add a drizzle of melted chocolate for a decadent touch.
For Storage Tips, follow these guidelines to keep your Coconut Kisses fresh:
- Airtight Container: Store the Coconut Kisses in an airtight container to maintain their freshness.
- Room Temperature: Keep them at room temperature for up to one week.
- Refrigeration: If storing for longer, refrigerate the Coconut Kisses for extended freshness.
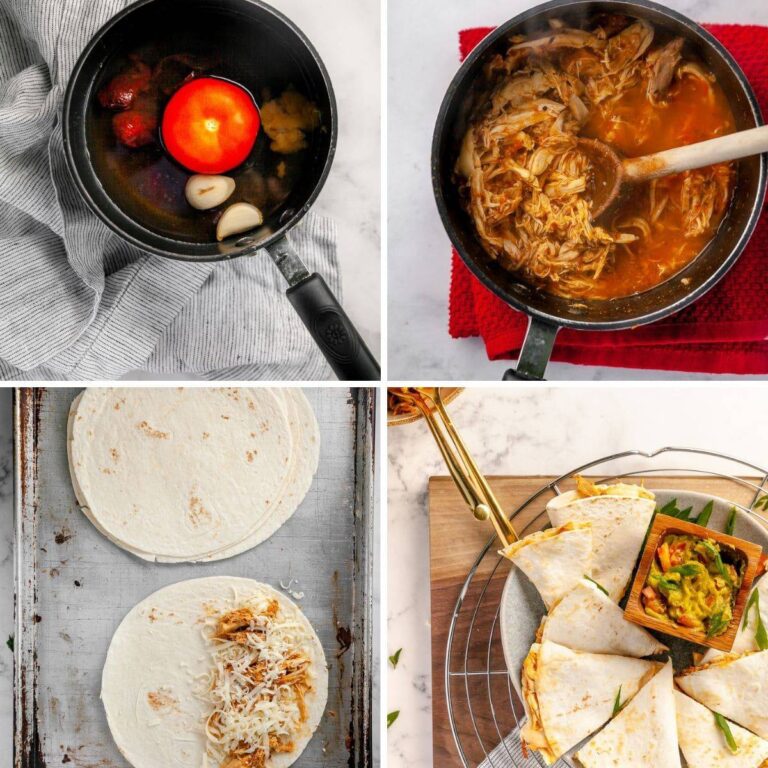
Credit: www.thecookierookie.com
Conclusion
Whip up these delightful Coconut Kisses for a sweet treat that’s sure to impress. Follow the simple steps to create these indulgent bites of coconut goodness. Elevate your baking game with this easy-to-follow recipe and satisfy your cravings with every bite.
Start baking and enjoy!