Color Flow Icing Recipe: Step by Step Guide
Create vibrant Color Flow Icing by following this simple step-by-step guide. Perfect for decorating cakes and cookies.
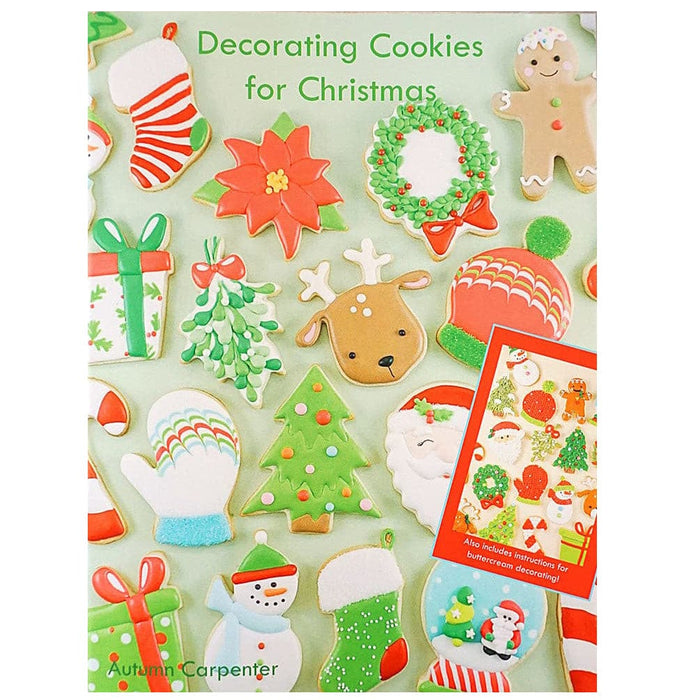
Color Flow Icing is a versatile and popular choice for adding intricate designs to baked goods. Whether you’re a beginner or experienced baker, mastering this icing technique can elevate your creations to the next level. In this blog post, we will walk you through the process of making Color Flow Icing from scratch, highlighting each step clearly and concisely.
By the end of this guide, you’ll be equipped with the knowledge and skills to create beautifully decorated treats that are sure to impress. Let’s dive in and get started on your Color Flow Icing journey!
Credit: www.thegunnysack.com
Basic Ingredients
This color flow icing recipe requires only basic ingredients such as confectioner’s sugar, meringue powder, and food coloring. Follow this step-by-step guide for a smooth and glossy icing perfect for decorating cookies and cakes.
Color flow icing is a popular decoration technique that is used to create intricate designs on cakes, cookies, and other baked goods. This technique involves outlining the design with a thicker icing and then flooding it with a thinner icing to create a smooth and seamless finish. The basic ingredients used in color flow icing are confectioners’ sugar, meringue powder, water, and gel food coloring.Confectioners’ Sugar
Confectioners’ sugar, also known as powdered sugar, is a finely ground sugar that is commonly used in icing and frosting recipes. It is an essential ingredient in color flow icing as it helps to thicken the icing and give it a smooth texture. When shopping for confectioners’ sugar, be sure to look for a brand that is free of any lumps or clumps.Meringue Powder
Meringue powder is a key ingredient in color flow icing as it helps to stabilize the icing and give it a glossy finish. It is made from dried egg whites, sugar, and other stabilizers and can be found at most baking supply stores. When using meringue powder in your color flow icing recipe, be sure to follow the instructions carefully to ensure that your icing sets properly.Water
Water is used to thin out the color flow icing and create a smooth and even consistency. It is important to add the water gradually to the icing mixture as too much water can cause the icing to become too thin and runny. When adding water to your color flow icing recipe, be sure to use room temperature water as this will help to prevent the icing from separating.Gel Food Coloring
Gel food coloring is preferred for color flow icing as it is more concentrated than liquid food coloring and will not cause the icing to become too thin. It is available in a wide range of colors and can be found at most baking supply stores. When adding gel food coloring to your icing, be sure to use a toothpick or a small spatula to avoid adding too much color at once. In conclusion, by using these basic ingredients, you can create beautiful and intricate designs with color flow icing. Remember to follow the instructions carefully and experiment with different colors and designs to create stunning and unique decorations for your baked goods.
Credit: zoebakes.com
Tools Required
Tools Required:
Before you start with the color flow icing recipe, make sure you have the necessary tools on hand. Here are the essential tools you will need:
Piping Bags
Disposable or reusable, piping bags are essential for creating intricate designs with your icing.
Parchment Paper
Using parchment paper ensures your icing decorations do not stick and can be easily transferred.
Scribe Tool
A scribe tool is handy for fixing mistakes and creating precise details in your icing designs.
Toothpicks
Keep toothpicks handy for popping air bubbles in the icing and making fine adjustments.
Preparing The Color Flow Icing
Preparing the Color Flow Icing is an essential step in creating beautifully decorated cookies and cakes. This versatile icing can be used to add intricate designs and vibrant colors to your baked goods. In this guide, we will walk you through the process of preparing the Color Flow Icing, from mixing the ingredients to achieving the right consistency.
Mixing The Ingredients
Start by gathering the necessary ingredients for the Color Flow Icing. You will need confectioners’ sugar, meringue powder, water, and gel food coloring. In a large bowl, combine the confectioners’ sugar and meringue powder. Use a whisk to mix the dry ingredients together until well combined.
Achieving The Right Consistency
Gradually add water to the dry ingredients, mixing as you go. The key is to achieve a smooth, thick consistency that is not too runny or too stiff. Continue to mix the icing until it reaches the desired thickness. Divide the icing into separate bowls and add gel food coloring to create different colors as needed for your decorating project.

Credit: blog.wilton.com
Coloring The Icing
When it comes to decorating your baked creations, coloring the icing is a crucial step to achieve the perfect look. Whether you’re aiming for vibrant and bold hues or soft pastel tones, the right technique can make all the difference. Here’s a step-by-step guide to coloring your icing to perfection.
Using Gel Food Coloring
Gel food coloring is the ideal choice for coloring icing due to its concentrated formula. It allows you to achieve intense colors without altering the consistency of the icing. Start by squeezing a small amount of gel food coloring onto a clean toothpick or a small spoon. Gently swirl the toothpick or spoon into the icing, adding color gradually until you reach your desired shade. Remember, a little goes a long way with gel food coloring, so start with a small amount and gradually add more as needed.
Mixing Colors For Custom Shades
If you’re aiming for custom shades that are not readily available in a single gel food coloring, mixing colors is the way to go. Create a color chart to record the combinations you’ve used, ensuring that you can replicate the exact shade in the future. To mix colors, use a clean toothpick to transfer a small amount of each gel food coloring onto a mixing palette. Gradually blend the colors together using a clean toothpick until you achieve the desired hue. Keep track of the ratios used to ensure consistency across your icing.
Piping Techniques
When it comes to creating stunning designs with color flow icing, mastering different piping techniques is essential. Each technique adds a unique dimension to your creations, allowing for intricate detailing and beautiful designs. Let’s explore the various piping techniques that can elevate your color flow icing creations to the next level.
Outlining
Outlining is the foundational step in color flow icing piping. Use a thin round tip to create precise outlines that define the shape of your design. Start by gently squeezing the piping bag to release a thin stream of icing, following the edges of the design. This step provides a clear boundary for the flooding process, ensuring that the colors do not bleed into each other.
Flooding
Flooding involves filling the outlined area with a slightly thinner consistency of color flow icing. Use a slightly larger round tip or a squeeze bottle to gently release the icing within the outlined shape. The icing will naturally spread to fill the space, creating a smooth and even surface. Allow each color to dry before adding adjacent colors to prevent bleeding and ensure crisp, defined edges.
Adding Details
Once the base layer has dried, adding intricate details can take your color flow icing designs to the next level. Utilize small round tips to create delicate lines, dots, or other decorative elements. Whether it’s adding intricate patterns, floral accents, or personalized messages, the addition of details can bring a unique touch to your creations.
Drying And Setting
When it comes to achieving the perfect color flow icing, allowing sufficient drying time and using the right techniques for setting are crucial steps. Properly drying and setting your color flow icing ensures a smooth and flawless finish, allowing you to create stunning designs for your baked creations.
Allowing Sufficient Drying Time
Allowing your color flow icing to dry sufficiently between layers is essential for achieving the best results. This prevents colors from bleeding into each other and ensures that the icing sets properly, giving you crisp, defined designs. Make sure to follow the recommended drying times for each layer, as rushing this step can lead to disappointment in the final outcome.
Using A Dehydrator For Speeding Up The Process
If you’re short on time or want to speed up the drying process, using a dehydrator can be a game-changer. A dehydrator provides consistent, low heat that helps the icing dry evenly and quickly without affecting the colors. Simply place your decorated cookies or other treats in the dehydrator at a low temperature for a short time to accelerate the setting process, allowing you to move on to the next steps of your decorating without the wait.
Common Mistakes And Troubleshooting
Discover common mistakes and effective troubleshooting tips when following a Color Flow Icing Recipe. This step-by-step guide ensures a smooth baking experience and beautifully decorated treats. Master the art of color flow icing with expert guidance and avoid potential pitfalls along the way.
Cracking Icing
Cracking icing is a common issue that can occur due to excessive drying or rapid temperature changes. To prevent this, ensure your icing consistency is not too thick and allow the layers to dry thoroughly between each application.
Icing Not Setting Properly
If your icing is not setting properly, it may be too thin or humid conditions could be affecting the drying process. Adjust the consistency of your icing by adding more powdered sugar and use a fan to improve air circulation for quicker setting.
Colors Bleeding
Colors bleeding can happen when the icing is too wet or if you apply colors too quickly. To prevent this issue, make sure each layer is completely dry before adding another color and use gel-based colors for more vibrant results.
Conclusion
Mastering the art of creating color flow icing is a game-changer for any baker. With this step-by-step guide, you can now confidently add vibrant and intricate designs to your baked creations. Get ready to impress your friends and clients with stunning, professional-looking treats.
Elevate your baking game today!