Cinnamon Roll Recipe With Kitchenaid Mixer: Step by Step Guide
Create delicious cinnamon rolls with your Kitchenaid mixer using our step-by-step guide. Get ready to bake!
Are you craving the warm, sweet aroma of freshly baked cinnamon rolls wafting through your kitchen? Look no further than this comprehensive guide on how to make mouthwatering cinnamon rolls using your Kitchenaid mixer. Whether you’re a seasoned baker or just starting out, this recipe will guide you through each step to ensure your cinnamon rolls turn out perfect every time.
From mixing the dough to rolling out the perfect swirl, we’ve got you covered. Let’s dive in and start baking these irresistible treats that will have your taste buds singing with joy.
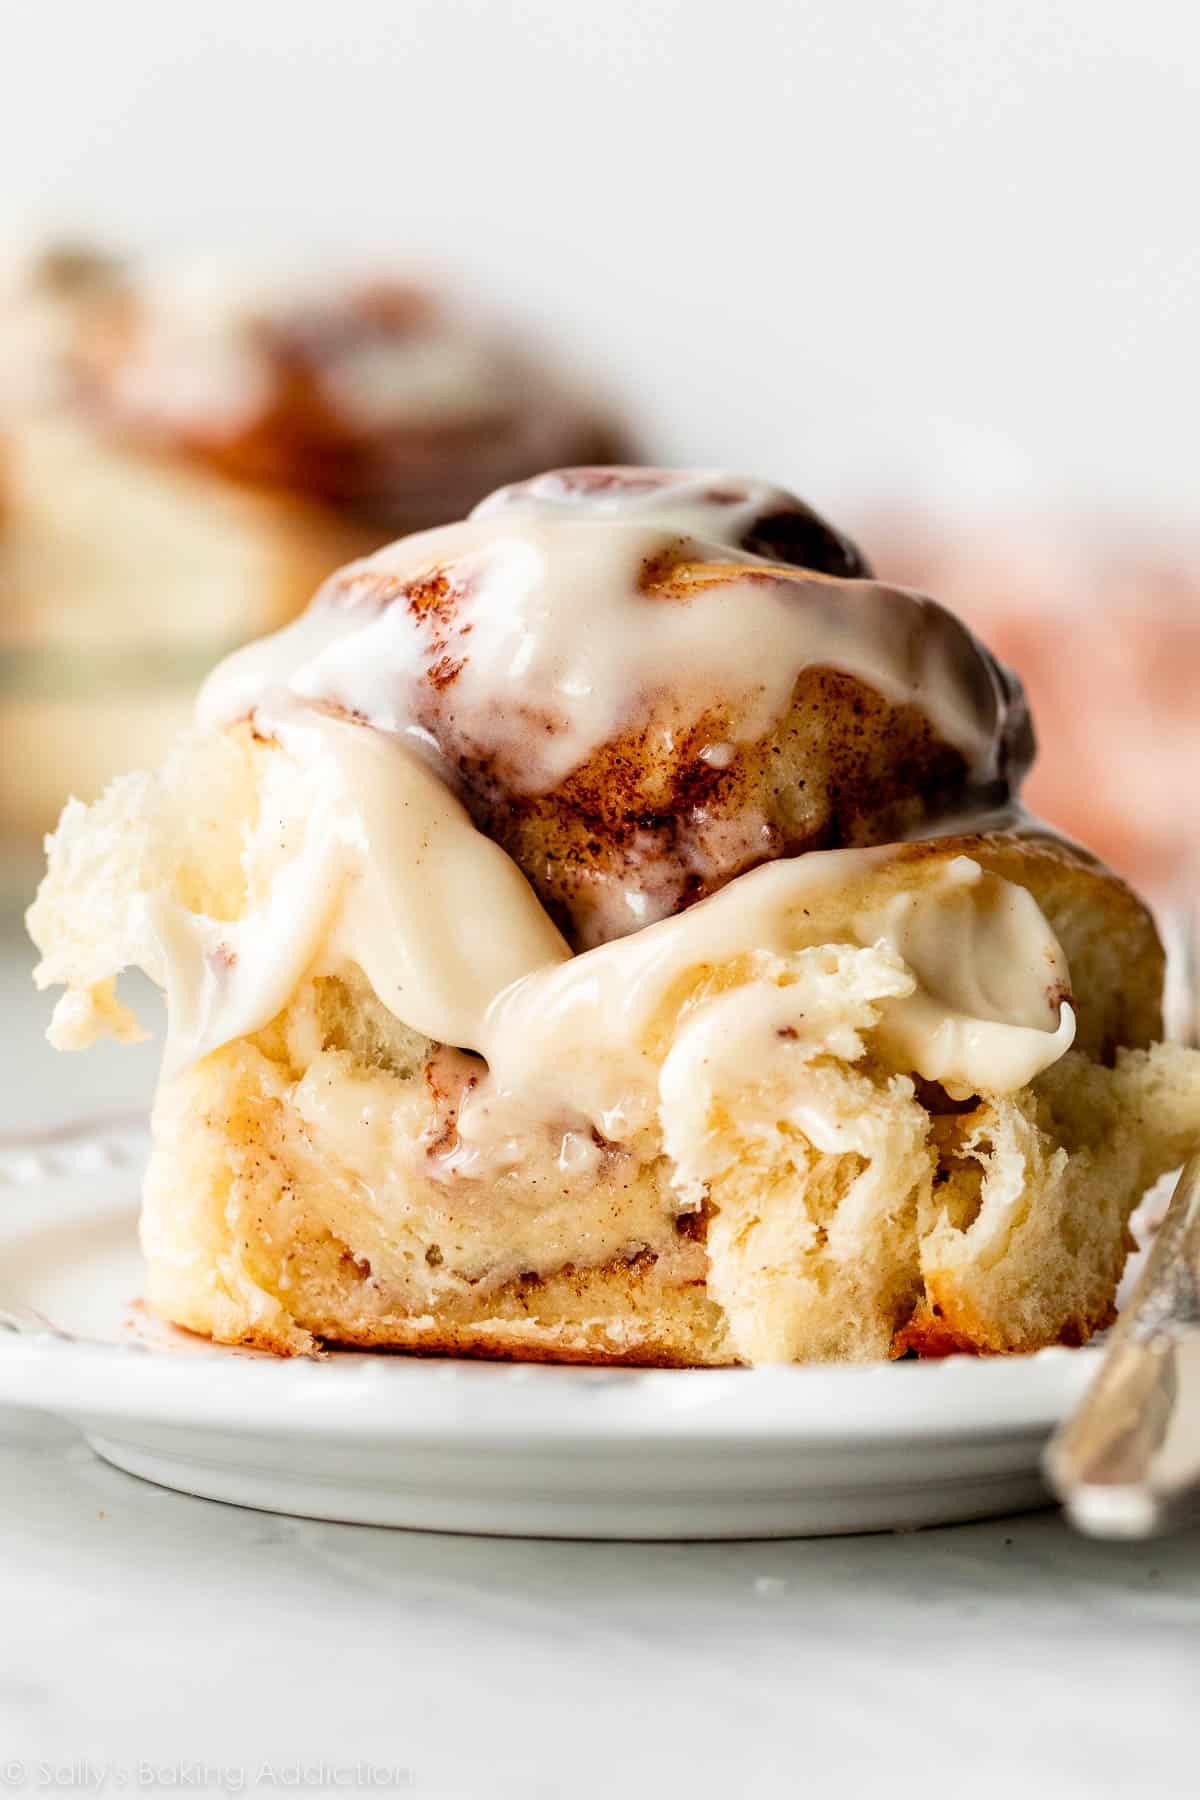
Credit: sallysbakingaddiction.com
Essential Ingredients
When it comes to making the perfect cinnamon rolls with your Kitchenaid mixer, having the right ingredients is essential. Here is a step-by-step guide on how to make these delicious treats, starting with the ingredients you will need.
Flour And Yeast
The first step in making cinnamon rolls is to combine the flour and yeast. You will need:
- 3 1/2 cups of all-purpose flour
- 1/4 cup of granulated sugar
- 1/4 cup of unsalted butter, melted
- 1/2 teaspoon of salt
- 1 envelope of active dry yeast
- 1 cup of warm milk
Mix all the ingredients together in your Kitchenaid mixer and knead until the dough is smooth and elastic. Cover the dough and let it rise until it doubles in size.
Cinnamon And Sugar Mixture
The second step is to prepare the cinnamon and sugar mixture. You will need:
- 1/2 cup of unsalted butter, softened
- 1/2 cup of brown sugar
- 2 tablespoons of ground cinnamon
Mix the ingredients together until they form a smooth paste. Roll out the dough into a rectangle and spread the cinnamon and sugar mixture evenly over the surface.
Roll the dough up tightly and cut it into 12 equal pieces. Place the rolls in a greased baking dish and let them rise until they double in size again.
Preheat your oven to 375°F and bake the cinnamon rolls for 20-25 minutes, or until they are golden brown. Let them cool for a few minutes before serving.
Now you know the essential ingredients needed to make delicious cinnamon rolls with your Kitchenaid mixer. Follow these simple steps and enjoy a sweet treat that everyone will love!
Preparing The Dough
When it comes to making delicious cinnamon rolls, preparing the dough is a crucial step that sets the foundation for the perfect treat. Using a Kitchenaid mixer can make the process much easier and efficient, allowing you to achieve the ideal texture and consistency. In this step-by-step guide, we will walk you through the process of preparing the dough for mouthwatering cinnamon rolls using your Kitchenaid mixer.
Activating Yeast
To begin, activate the yeast by combining warm milk, sugar, and yeast in a small bowl. Let the mixture sit for about 5-10 minutes, or until it becomes frothy. This indicates that the yeast is active and ready to be used in the dough. This step is crucial for ensuring that your cinnamon rolls rise properly and achieve the desired fluffy texture.
Mixing And Kneading In Kitchenaid Mixer
Once the yeast is activated, it’s time to mix and knead the dough using your Kitchenaid mixer. In the mixing bowl of the mixer, combine flour, salt, melted butter, eggs, and the activated yeast mixture. Attach the dough hook to the mixer and mix on low speed until the ingredients start to come together. Then, increase the speed to knead the dough for about 5-7 minutes, or until it becomes smooth and elastic. This process can be significantly more efficient and less labor-intensive when using a Kitchenaid mixer, ensuring consistent results every time.
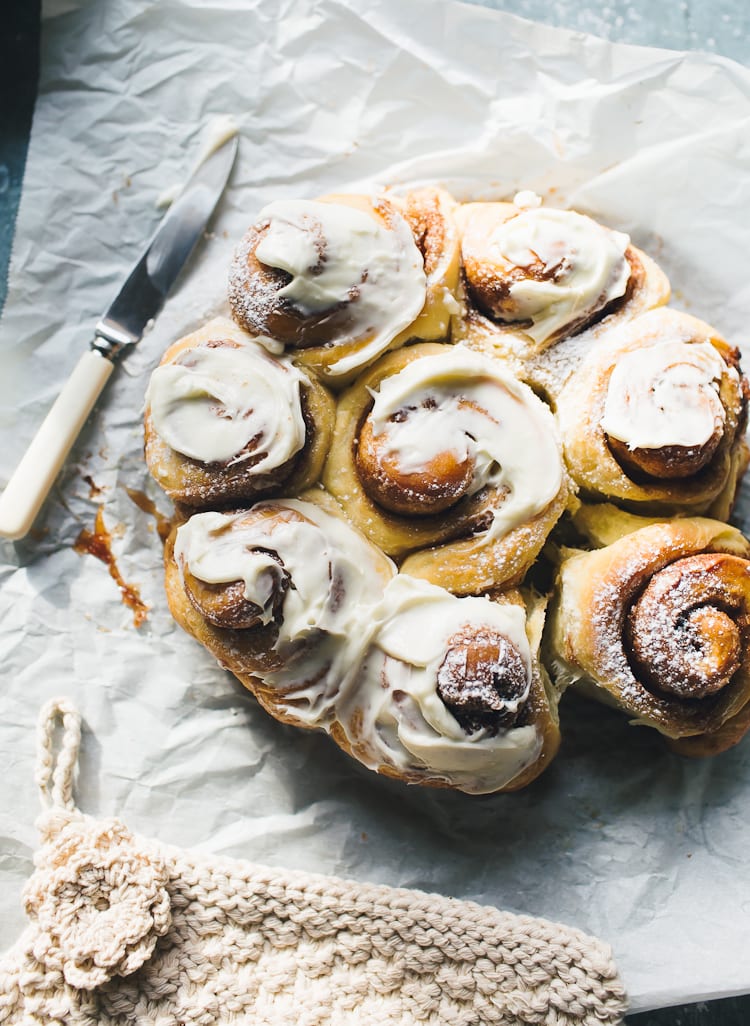
Rolling And Filling
When it comes to making a delicious batch of cinnamon rolls using a KitchenAid mixer, the rolling and filling process is where the magic truly happens. This step brings together the buttery, cinnamon-sugar filling and the fluffy dough to create those irresistible swirls of flavor. In this section, we’ll walk through the key steps of spreading the butter and cinnamon sugar mix and rolling the dough to ensure your cinnamon rolls turn out perfect every time.
Spreading Butter And Cinnamon Sugar Mix
First, let’s prepare the filling by mixing together softened butter, granulated sugar, and ground cinnamon. Using a spatula, spread this luscious mixture evenly over the rolled-out dough, ensuring that every inch is covered to guarantee a burst of cinnamon goodness in every bite.
Rolling The Dough
- Once the filling is spread, start rolling the dough tightly from the longer side, using both hands to guide and maintain the shape.
- Continue rolling until you have a beautiful, spiraled log of dough ready to be sliced into individual cinnamon rolls.
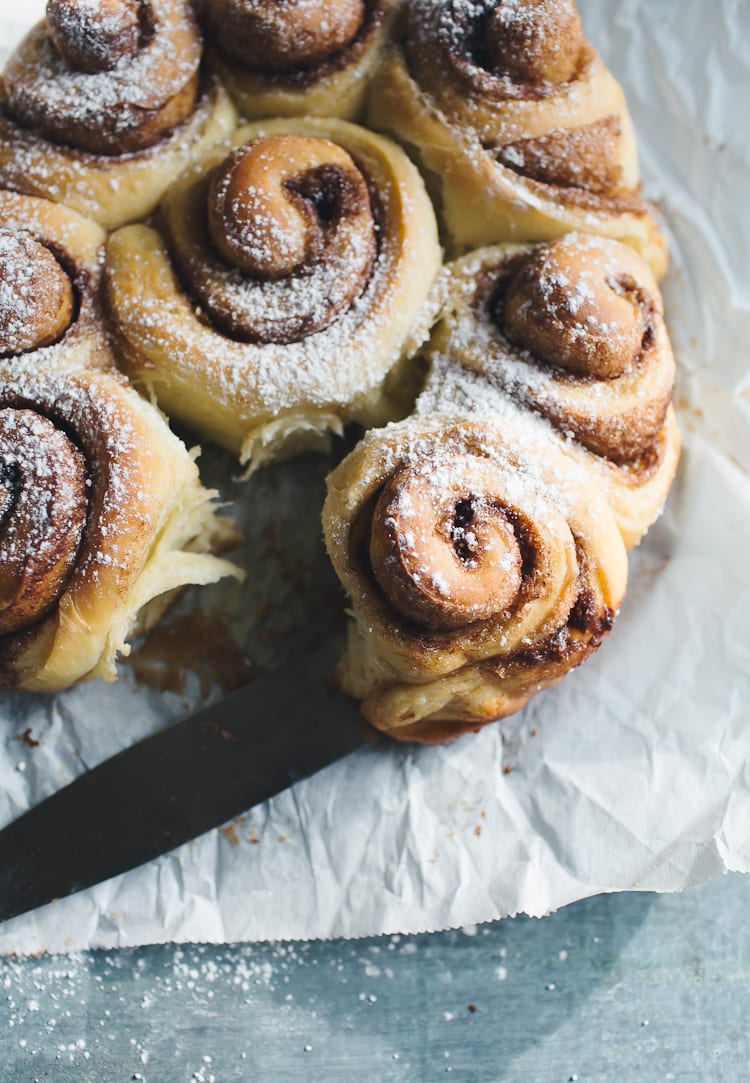
Credit: www.theclevercarrot.com
Cutting And Shaping
When it comes to making delicious cinnamon rolls using a Kitchenaid mixer, the cutting and shaping step is crucial for achieving the perfect texture and appearance. In this step-by-step guide, we will cover the essential techniques for cutting and shaping your cinnamon rolls to ensure they turn out beautifully every time.
Uniform Slicing Technique
Before cutting your rolled out dough, ensure it is evenly rolled to an even thickness. Utilize a sharp knife or a piece of unflavored dental floss to achieve clean and precise cuts. Using a gentle sawing motion with the knife or floss, cut the dough into uniform slices, approximately 1 to 1.5 inches thick. This will help the rolls to bake evenly and maintain a consistent shape.
Shaping Rolls
Once the dough is cut into slices, it’s time to shape the rolls. Take each slice and gently shape it into a smooth, uniform cylinder by tucking the edges underneath. This will ensure that the filling stays intact and the rolls hold their shape during baking. Place the shaped rolls onto a prepared baking sheet, leaving enough space between each roll to allow for rising and spreading during baking.
Baking Process
Baking cinnamon rolls with a KitchenAid Mixer is a delightful experience. Let’s dive into the baking process step by step.
Preheating The Oven
Before starting, preheat your oven to the recommended temperature for baking cinnamon rolls.
Monitoring Bake Time
Once the rolls are in the oven, set a timer to monitor the bake time closely.
Icing And Serving
When it comes to the final touch on your freshly baked cinnamon rolls, the icing plays a crucial role in enhancing the flavor and presentation. Let’s dive into the process of preparing the Icing and Serving to elevate your cinnamon roll experience.
Preparing Cream Cheese Frosting
- Gather 4 oz softened cream cheese, 1/4 cup softened butter, 1 cup powdered sugar, and 1/2 tsp vanilla extract.
- In a mixing bowl, beat cream cheese and butter until smooth.
- Add powdered sugar and vanilla extract, continue mixing until creamy.
Drizzling Icing Over Warm Rolls
- Once cinnamon rolls are baked, let them cool slightly but still warm.
- Using a spoon, drizzle the cream cheese icing generously over the warm rolls.
- Ensure each roll is evenly coated with the delectable icing for a delicious finish.
Variations And Tips
When making cinnamon rolls with a KitchenAid mixer, there are various ways to customize the recipe to suit your preferences. Here are some variations and tips to enhance your cinnamon roll baking experience.
Adding Nuts Or Raisins
If you want to add an extra layer of texture and flavor to your cinnamon rolls, consider incorporating nuts or raisins into the filling. Chopped pecans, walnuts, or almonds can provide a delightful crunch, while raisins add a touch of natural sweetness. When adding nuts or raisins, evenly distribute them across the dough after spreading the butter and cinnamon sugar mixture to ensure every bite is packed with deliciousness.
Storage And Reheating Suggestions
Properly storing and reheating cinnamon rolls can help maintain their freshness and taste. When storing freshly baked cinnamon rolls, place them in an airtight container or wrap them tightly in plastic wrap to prevent them from drying out. For longer-term storage, consider freezing the rolls in a freezer-safe container. When reheating, you can warm the cinnamon rolls in the oven at 350°F for a few minutes or microwave individual servings for a quick and convenient treat.
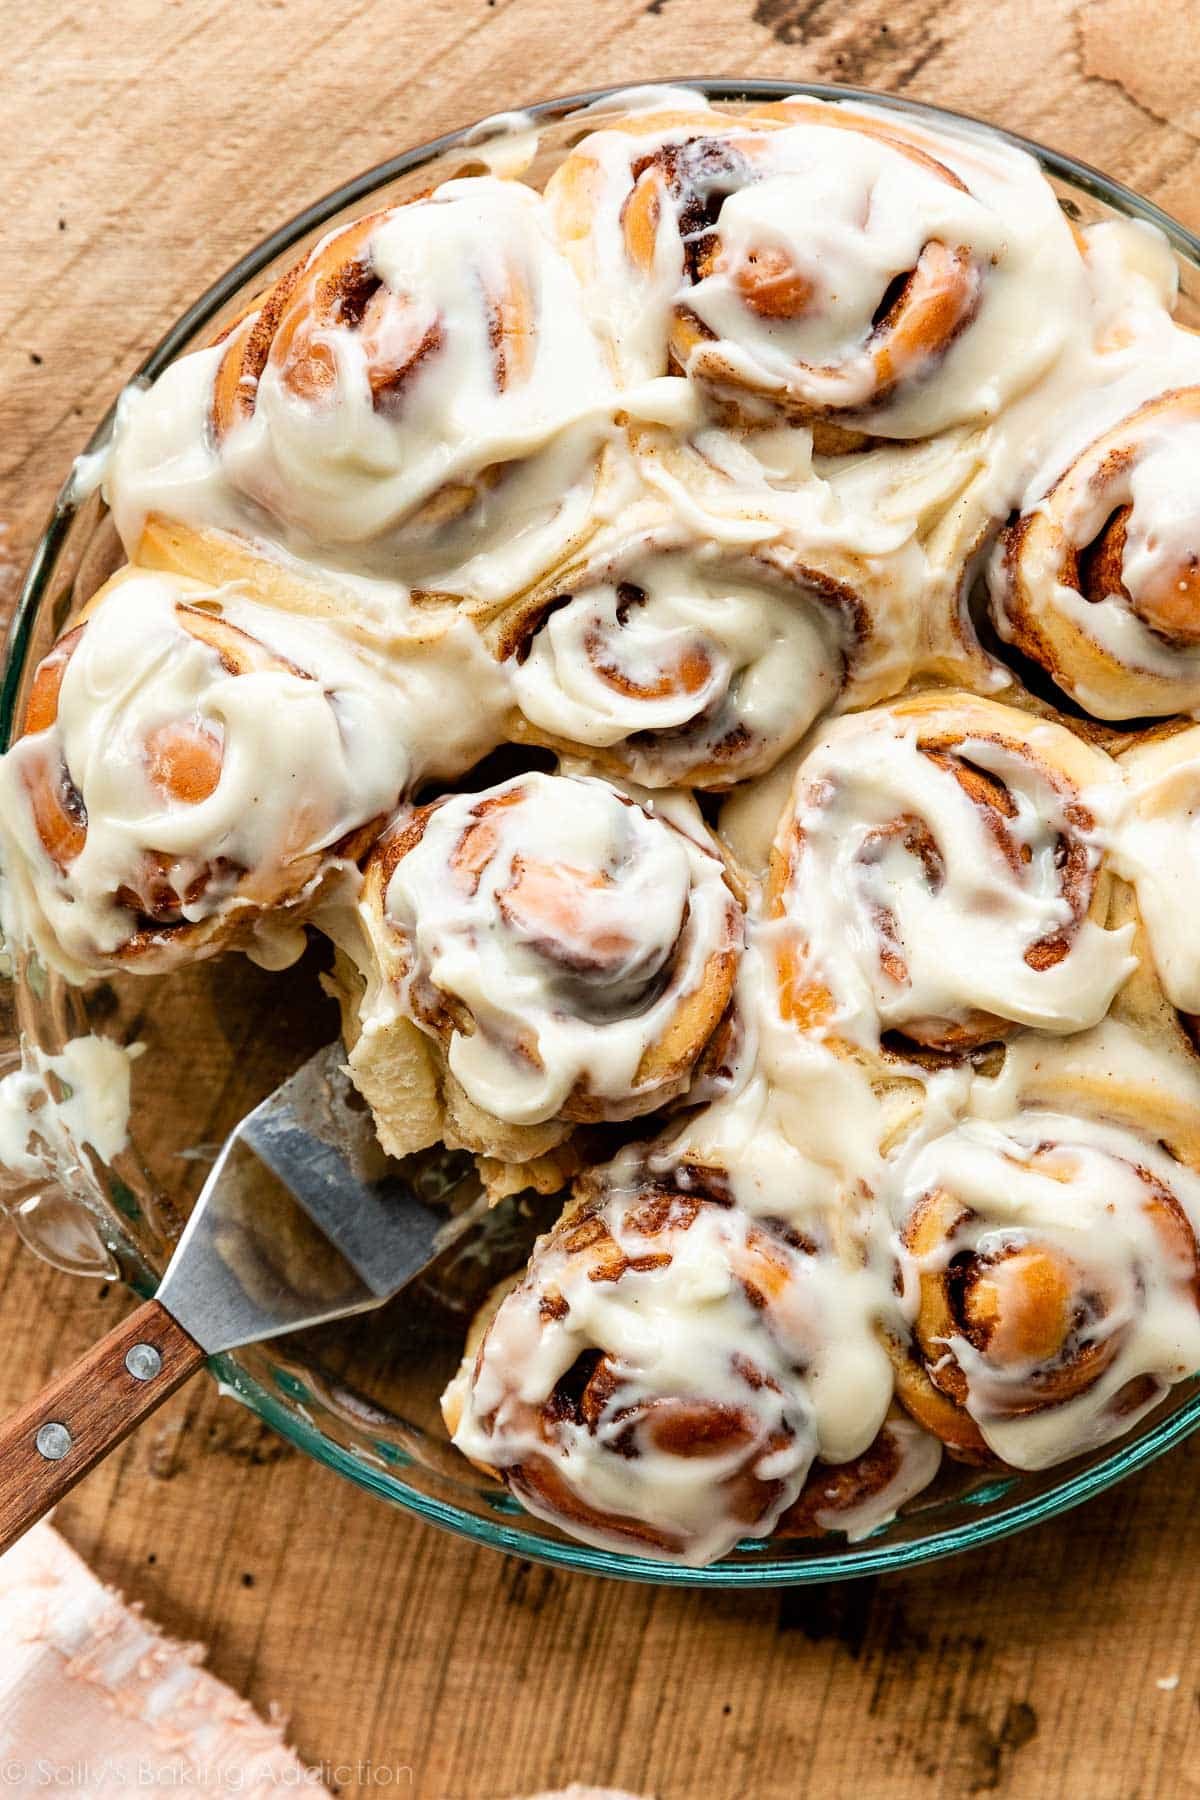
Credit: sallysbakingaddiction.com
Conclusion
Mastering the art of making cinnamon rolls with a KitchenAid mixer is now within your reach. By following the step-by-step guide, you can create delicious treats that will impress your family and friends. With the right tools and ingredients, you can enjoy the sweet and aromatic flavors of homemade cinnamon rolls anytime.